This article describes the initial procedure of loading a dump to IDA disassembler.
Preparing
It is assumed that you have IDA installed on your machine.
To semi-automate initial stage you need to download and install FLIRT-signatures and IDC-scripts. You can get them here. Copy file "sig/CanonFW_A-Series.sig" from the archive to "<PATH_of_IDA_insalled>/sig/arm/". Unpack the idc folder to whatever you want.
Running of IDA
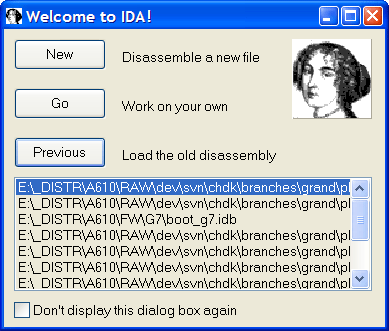
Start IDA application. Upon IDA loaded create a new database. You can do it by pressing NEW button on 'Welcome' window. Or through menu: 'File->New...'. Choose the dump file ('PRIMARY.BIN') to load.
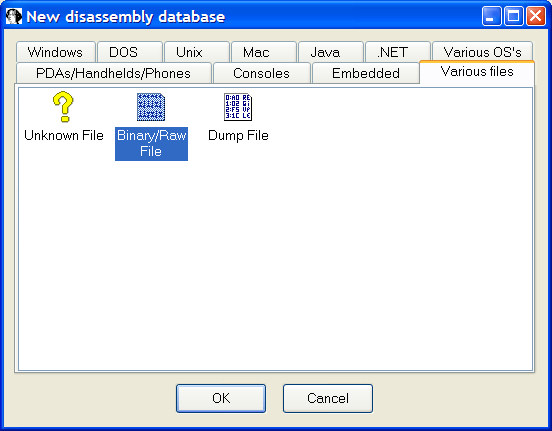
Choose 'Binary/Raw File' format under 'Various files' tab.
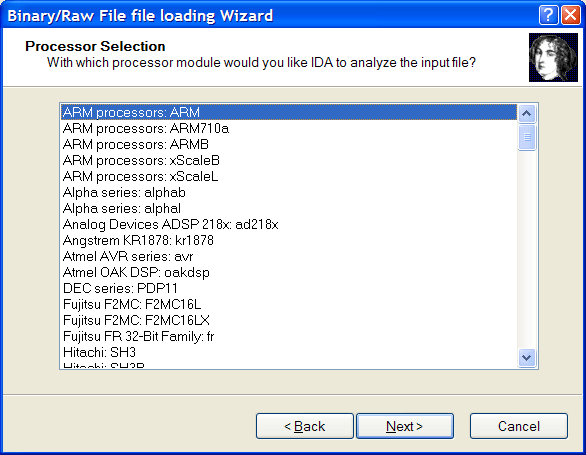
'Loading Wizard' will appear. Leave the 'Analysis options' unchecked.

Choose 'ARM processor ARM' as target platform.
Leave the 'Start analysis now' checked. Press 'Finish' button.

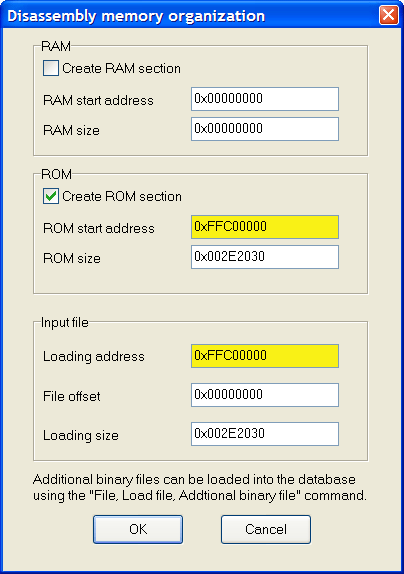
You have to specify the correct 'ROM start address' and 'Loading address'. They are equal and depends on the model of camera. For A-series it is 0xFFC00000, for S-, SD-, and G- series - 0xFF810000.
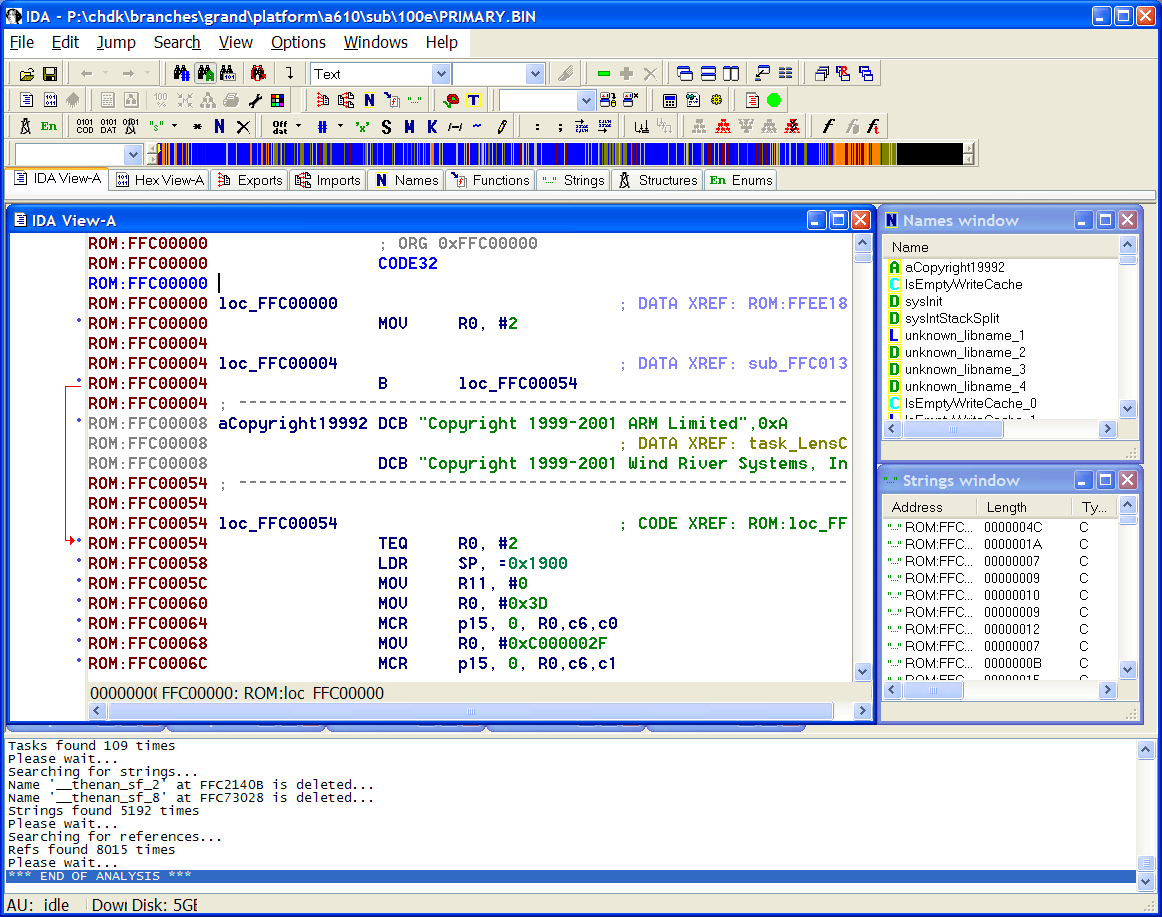
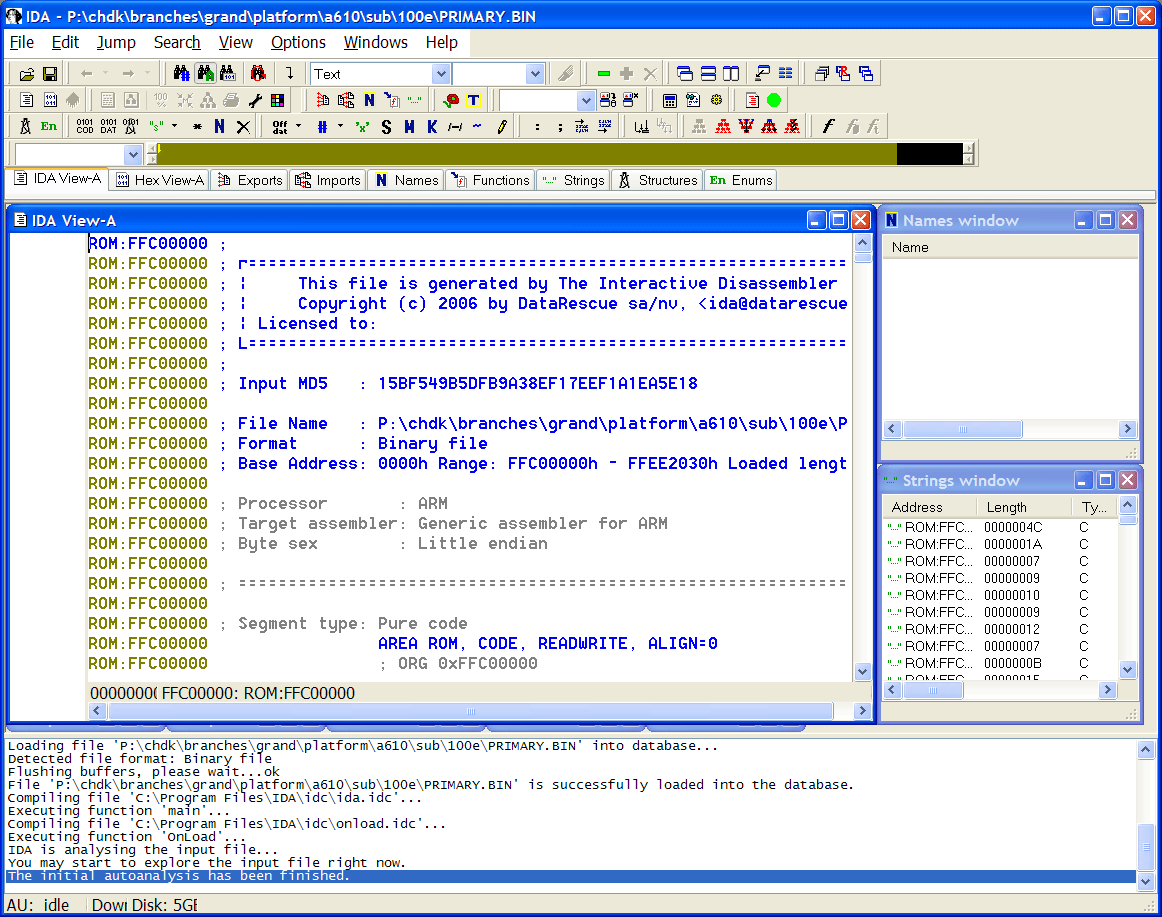
Wait a while until IDA loaded the file.
Click on 'Open signatures window' tool-button. Or press 'Shift+F5'.

In window appeared click right mouse button and choose 'Apply new signature...' menu item.

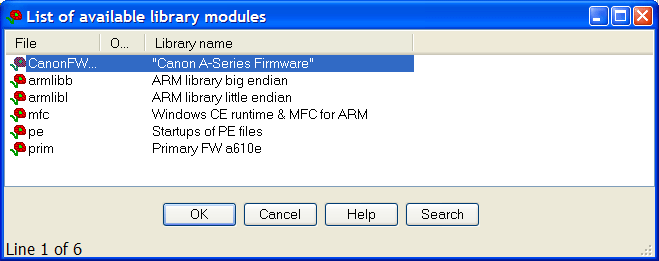
IDA will show the list of signature files are available for current processor. If you correctly installed the signatures file, as described in the preparing section, you will see "CanonFW_A-Series Firmware" item. Choose it.
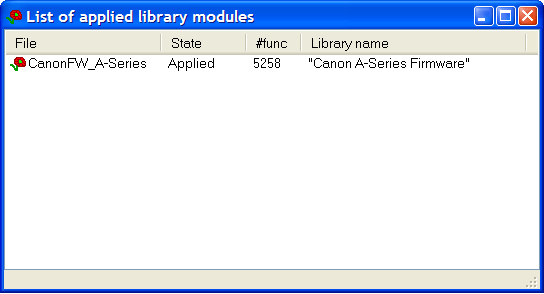
After a short analysis you will see the number of functions recognized. Then, you can close the window.
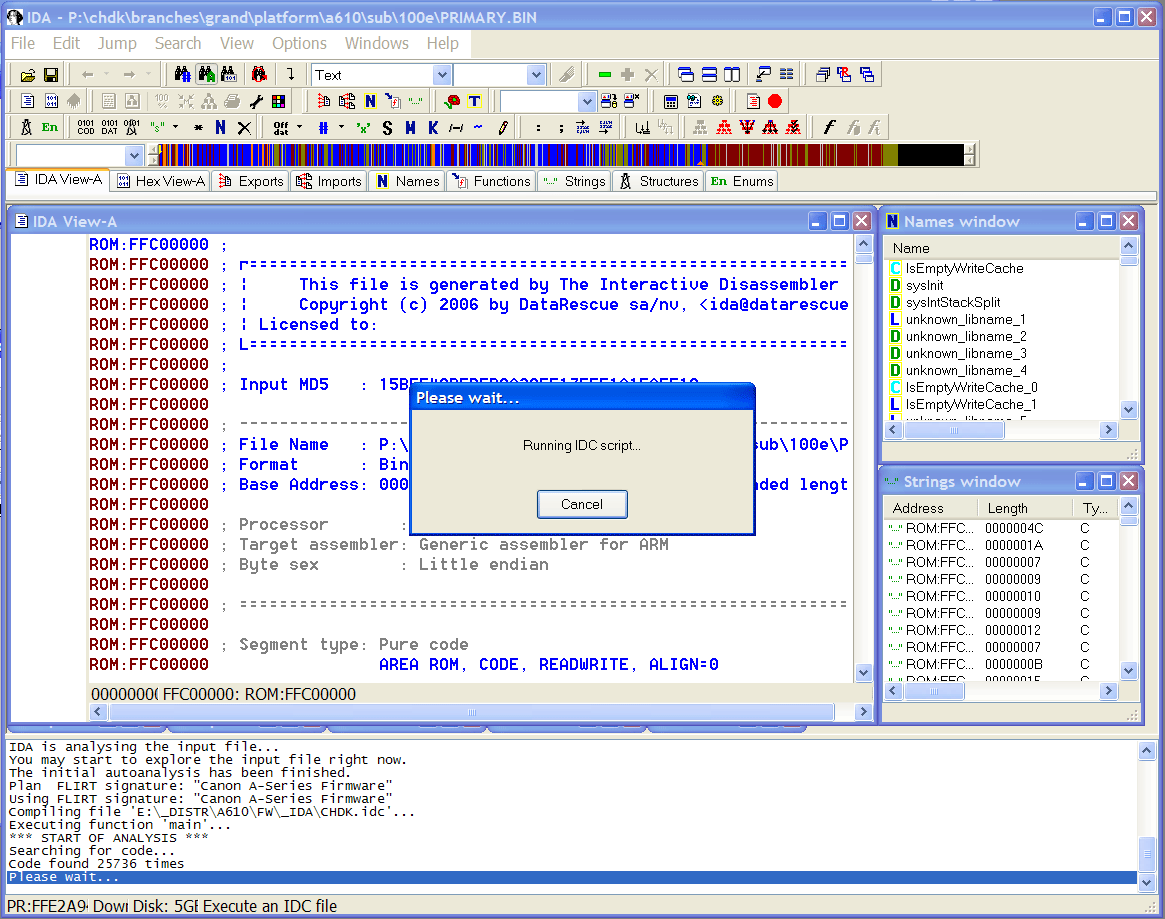
Click on 'Execute an IDC file' tool-button. Then choose the 'CHDK.idc' file saved in the preparing section.

The script will run. It can take several minutes to complete. Please do not interrupt the IDA untill it finished.
Now, the initial disassemling stage is completed. You can browse the code.